We have a customer who purchased business class emails with Network Solutions. Our customer had issues right away with delays in email and rejections. This turned out to be a outdated Sender Policy Framework (SPF) record in the DNS settings. This didn’t solve all the issues.
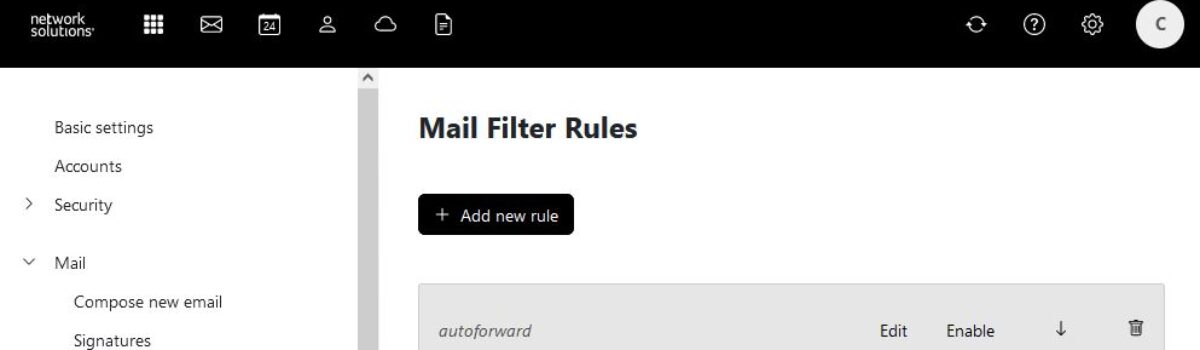
One user was still having issues with delayed emails. We sent an email to user-1 but got a rejection for user-2. Turned out user-1 was set to forward to user-2. We added user-1 email address to user-2 email account as a safe sender; however, we got still got rejections. We ended up just turning the forwarding off and everything was working.
Not really a solution, but it is working. We are not a fan of Network Solution here.
Let us know if that helped you…